

Stellar, a renowned name in data recovery solutions, has developed yet another brilliant software amongst its impressive portfolio. This new software, Stellar Data Recovery for Android, aims to help users recover lost or deleted data from their devices with ease. Many individuals, including myself, have lost valuable data at some point. This is usually painful or even frustrating, especially when there is no way to recover the lost data.
Stellar Data Recovery for Android is designed to recover lost or deleted data, including contacts, messages, call history, photos, videos, and documents, from different versions of Android smartphones and tablets. It works by scanning the internal storage or external SD cards to retrieve lost files.
Stellar Data Recovery for Android Compatible Devices
- Android versions:
The software is compatible with Android OS versions 14.x, 13.x, 12.x, 11.x, 10.x, 9.x, 8.x, 7.x, 6.x.
- Operating Systems:
It is compatible with Windows 11, Windows 10, Windows 8.1 (x64 edition only), and Windows 7.
How to Recover Lost Data using Stellar Data Recovery for Android
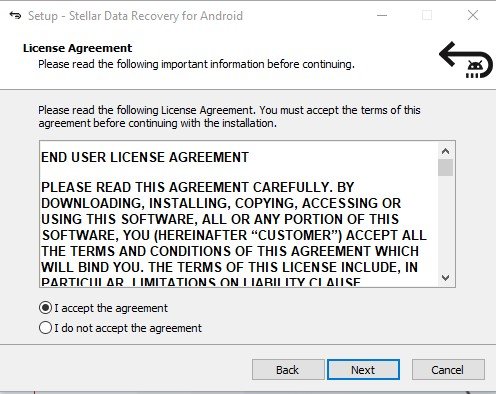
1. Download, Install, and Setup Stellar Data Recovery for Android
- Download the Android data recovery software on your Windows PC.
- Click “free download”. After downloading the software, begin the installation process.
- A setup dialogue box will appear. Follow the on-screen instructions to complete the installation process.


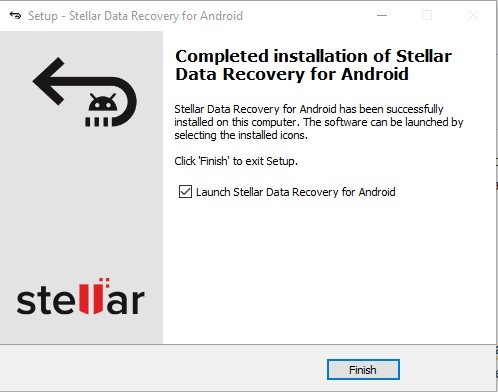
- After completing the installation, you’ll be taken straight to Stellar Data Recovery for Android’s homepage. Here, you can choose what you’d like to recover: Android Data? WhatsApp Data? Or WA Business Data? In this article, we will work on how to recover Android data.
- Now that you’ve selected what you want to recover, you can also narrow down the data you want to find by unchecking the boxes next to the data type you are not interested in.

2. Enabling USB Debugging
After clicking “Next”, you will be asked to enable USB debugging on your Android device. Just follow the steps on your screen to achieve this.

However, because smartphone brands are different, you may need to follow a slightly different approach to enable your phone’s USB debugging option. For instance, my phone is the Redmi Note 12 Turbo, and to enable USB debugging, I had to go to Settings > My device > Detailed info and specs > OS version (which I tapped 7 times to enable Developer options) > Went back to “Additional settings” > then to “Developer options,” where I switched on “USB debugging” and “Install via USB” buttons.


3. Connect Android Phone
After enabling your smartphone’s USB debugging mode, you will be prompted to connect your device. To do this, get a USB cable and connect it to your Android phone. Once your device connects, click “Scan” to go to the next step.

When you click scan, you will be asked to grant a few permissions so that the program can access your Android device in order to recover your lost data. Allow all permission pop-ups.
4. Scan Your Device
After granting all permissions, the scanning will begin. It took about an hour and 35 minutes to completely scan my device, so bear in mind that it will take a while. Also, how quickly your device finishes the scan can be dependent on the data size you are trying to recover. Meanwhile, you can engage in other activities while waiting for the software to finish the scan.

After a while, the scanning was done.
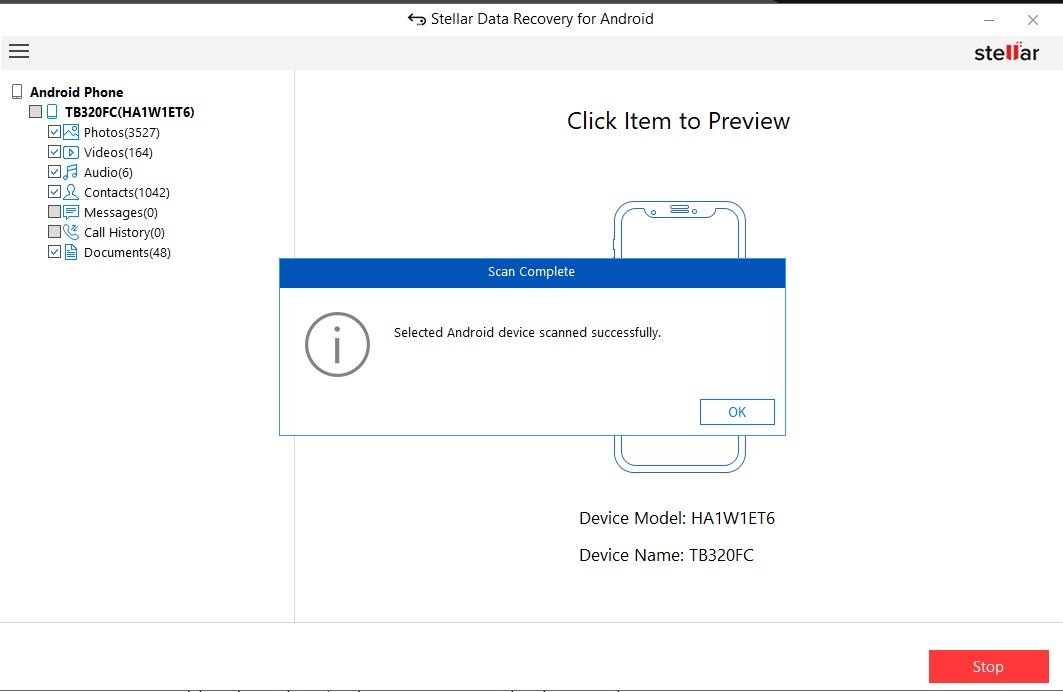
5. Preview, Select, and Save
Once the scanning is complete, you can preview, select, and save the recovered photos, videos, audio, documents, etc., to a specific file folder on your PC.
Note that the trial/free version of the software only allows you to scan and preview data. You will need to enter an activation key to activate the product and save your recovered files. And getting the activation key requires you buying the software.

After purchasing the package plan you want, click save again. A dialogue box will pop up asking you to choose the destination location where you would like the restored files to be saved.

Click Ok and you are good to go.

My Observations
- Running the program requires a PC for recovery, as it does not operate as a standalone mobile app. So, if you do not have a computer, you’d need to go get one.
- The interface is well-designed, not congested, easy to navigate, and with well-explained instructions. You don’t need to be a pro in tech to find your way around the software.
- The amount of data being scanned determines the recovery speed. For example, I scanned all categories (photos, videos, documents, contacts, messages, audio, call history) and it took me 1 hour and 35 minutes to finish scanning. However, it might take just a few minutes to scan only the “photos” category.
- The preview feature is particularly helpful. This is because it lets users selectively restore necessary files instead of retrieving unwanted data.
- An activation key is needed to save the retrieved data. And to get this key, you have to purchase the software.
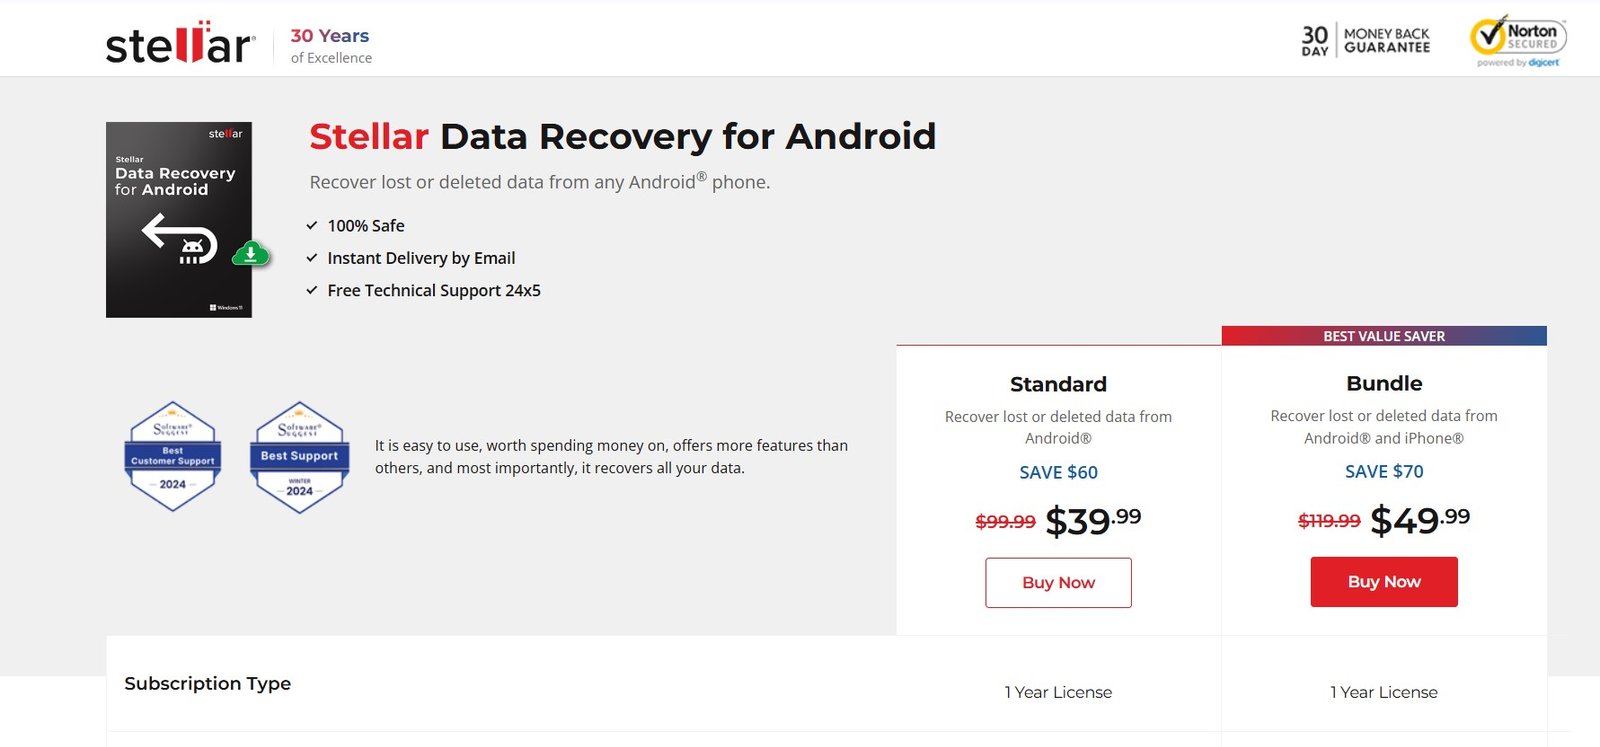
Stellar Data Recovery for Android Pricing
Stellar Data Recovery for Android offers a free trial version, allowing users to scan and preview recoverable data before opting for a paid version. The full version unlocks the ability to save the restored files. It has two price plans:
Standard Plan cost:
- $29.99 for three devices and
- $39.99 for five devices (for Android only) ;
Bundle Plan cost:
- $49.99 for three devices (for Android and iPhone).
Final Thoughts
I believe that the Stellar Data Recovery for Android software is worth giving a shot. Why is that? Unlike some other programs that necessitate payment before any operations can be carried out, Stellar Data Recovery for Android allows users to put its usefulness to the test before making a purchase. So, if it doesn’t work for you (the scan was not successful), you may choose to withdraw your interest without regrets of wasted payment. And do not forget that this recovery software retrieves photos, documents, audio, contacts, videos, messages, and call history, as well as your deleted/lost WhatsApp chats…so, why not?
You can also look at how to fix and revive corrupt videos on your device with Stellar Repair for Video.

